The Yacht Maintenance Hub, The resource for Yacht Maintenance & Repairs310310
6 February 2026 | Read it in 8 minutes
Written by Archie Wilson
Archie Wilson is a commercially endorsed Yachtmaster Offshore, experienced Bosun, yacht crew member and founder of The Yacht Maintenance Hub. His background spans superyachts, private motor yachts, chase boats and sailing yachts, with hands-on experience in maintenance, refit work, boat building, deck operations and basic engineering. Having also lived aboard sailing yachts and helped smaller boat owners manage their own maintenance, Archie created TYMH to share practical guidance grounded in real onboard experience.
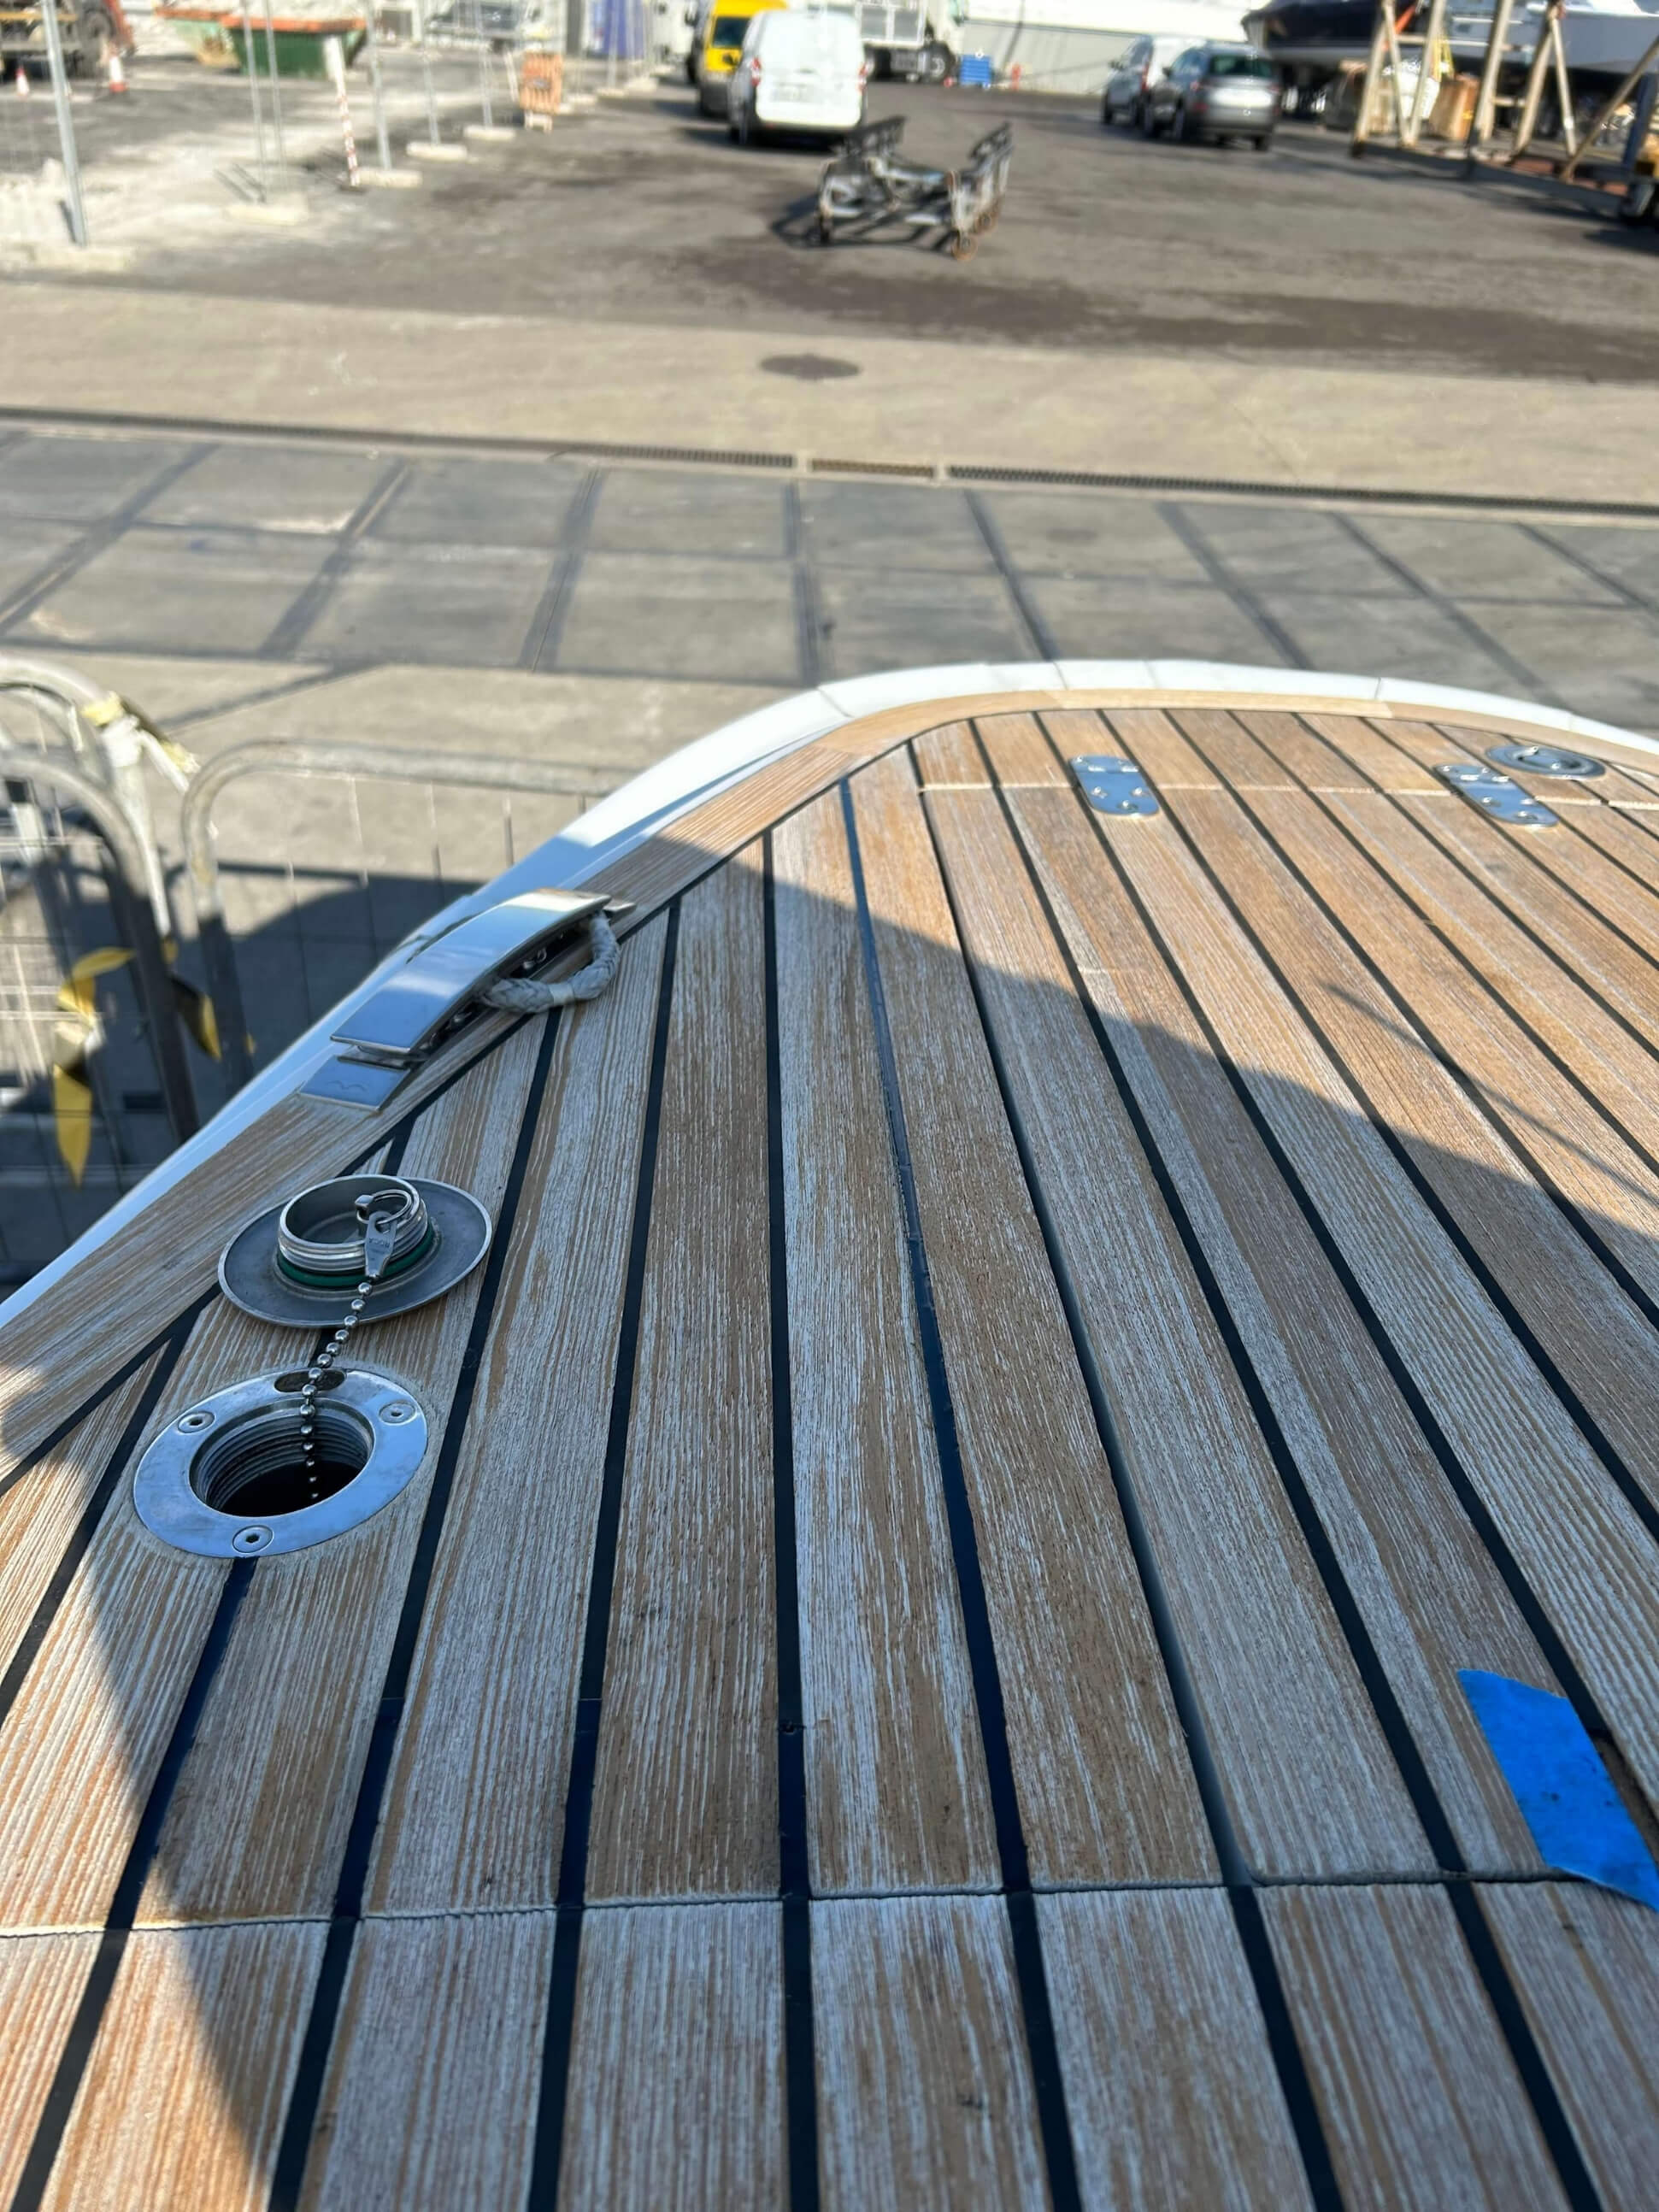
Sanding teak can improve a rough deck, but every pass removes wood permanently. Before starting, establish whether the problem needs cleaning, surface correction or a proper repair.
This guide explains when to sand a boat’s teak deck, how to choose the grit and which mistakes can shorten its working life. It focuses on real teak decking; furniture, veneers and synthetic decking need different treatment.
Some links on this page are affiliate links. This means The Yacht Maintenance Hub may earn a commission if you click through and make a purchase, at no extra cost to you. We only recommend products, tools and marine suppliers that we believe are useful for yacht owners, captains, crew and marine professionals.
Quick Answer: Should You Sand Teak Decks?
Sand a teak deck only when its condition justifies removing wood and enough usable thickness remains. Clean and inspect it first. Manufacturer guidance includes 80–120 grit sanding sequences, but the correct method depends on the deck and caulking system. Grey colour alone does not justify sanding, and failed seams need repair rather than cosmetic smoothing.
Does Your Teak Need Cleaning, Sanding or Repair?
Start with the least invasive treatment that addresses the problem.
What you see
Sensible next step
Even silver-grey colour without other defects
Continue gentle care; colour alone is not evidence of failure.
Dirt, algae or surface contamination
Clean with an approved product, rinse and reassess.
Small rough areas or shallow surface damage
Consider limited sanding after checking thickness and seams.
Deep grooves or heavy uneven wear
Ask a specialist whether resurfacing would remove too much teak.
Open seams, loose planks, exposed fasteners or persistent damp patches
Investigate and repair before considering sanding.
There is no universal safe removal depth or fixed number of lifetime sandings. The important measurement is the remaining usable teak, alongside the depth and condition of its seams.
Before approving work, establish:
Whether the surface is solid teak, a thin teak layer or another material.
How much timber remains above fasteners, backing or bonding layers.
Whether previous sanding has left steps, edges or busy walkways thinner.
Whether sufficient caulking depth will remain after resurfacing.
Check installation records and have a teak specialist assess representative areas. One visible edge may not reflect wear elsewhere.
If thickness or construction is unknown, pause before sanding. Levelling a deck down to its deepest groove can sacrifice sound wood across a much larger area.
What Grit Sandpaper Should You Use for Teak Decks?
80–120 grit appears in manufacturer deck-sanding guidance, but it is not a universal instruction for every teak surface.
Leave substantial material removal to an experienced specialist. These are not a default maintenance starting point.
80 grit
A possible starting grade where the deck system and repair scope permit it. Test carefully.
100–120 grit
Possible finishing grades where specified; avoid unnecessary extra passes.
Finer furniture-finishing grades
Do not transfer a furniture sanding sequence to a walking deck without approval.
The aim is an appropriate deck surface with minimal timber loss. A finer finish is not automatically a better one.
What Tools Do You Need for Sanding Teak?
Prepare the equipment before opening a work area:
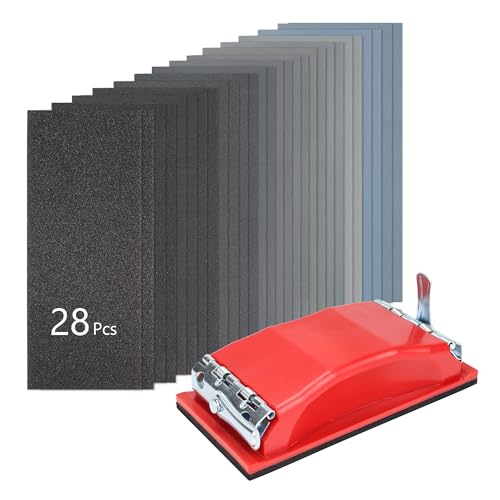
A flat sanding block for small corrections and details.
Suitable abrasives in the approved grades.
A controllable random orbital sander, if machine sanding is justified.
Compatible dust extraction, masking materials and surface protection.
Suitable respiratory, eye and hearing protection.
For occasional small corrections, a basic flat block may be enough. For repeated work, an extraction-connected hand block can be a useful upgrade.
How to Sand Teak Decks: Step by Step
Use this sequence for an assessed, sound deck with an agreed sanding scope. Extensive levelling, thin decking and seam reconstruction need specialist attention.
Clean and Let the Teak Dry
Check seams, plugs, plank edges and previously repaired areas. Mark defects and confirm the work sequence. If fresh caulking is involved, follow its manufacturer’s sanding-ready cure instructions; touch-dry does not mean ready to sand.
Inspect the Deck and Resolve Defects
Check seams, plugs, plank edges and previously repaired areas. Mark defects and confirm the work sequence. If fresh caulking is involved, follow its manufacturer’s sanding-ready cure instructions; touch-dry does not mean ready to sand.
Protect the Work Area
Remove loose equipment and protect nearby paint, glass and metalwork. Arrange dust containment, extraction and a safe power supply. Keep electrical tools and connections dry, and prevent dust reaching guests or neighbouring boats.
Test a Small Area
Use the approved abrasive and light pressure. Remove dust and inspect the result before expanding the work. Agree the acceptable finish at this stage, especially if remaining stains would require deeper sanding.
Sand Evenly and Check Often
For hand sanding, follow the grain with the block flat. With a random orbital sander, use controlled, overlapping passes without tipping the pad or dwelling on one spot. An orbital pad does not move only with the grain. Flat contact, controlled movement and frequent inspection matter more than trying to make it behave like a hand block.
Remove Dust and Recheck
Vacuum the deck and inspect seams, edges and transitions. Stop if caulking smears, fittings become exposed or unexpected defects appear. Collect debris for disposal through the yard’s system; do not wash sanding dust overboard.
Can You Sand Over Teak Deck Caulking?
Some deck caulking compounds are designed to be sanded after sufficient curing. However, sanding cannot restore failed adhesion or compensate for insufficient seam depth.
Teakdecking Systems’ SIS 440 guidance describes sanding fully cured touch-up repairs flush, while distinguishing these from seams that need more extensive replacement.
Use the instructions for the installed compound. Do not assume that every black sealant, or every previous repair, behaves the same way.
Common Sanding Teak Mistakes to Avoid
Sanding to a calendar: Inspect condition instead of automatically sanding every season.
Chasing every stain: Agree what can remain before removing more sound timber.
Tilting the sander: Working on the pad’s edge can create local hollows.
Flattening deep grooves without assessment: The surrounding deck may lose unnecessary thickness.
Treating proud or damaged seams as a sanding problem: Identify the cause first.
Skipping dust extraction: Working outdoors does not remove the need to control dust.
Applying a finish automatically: Check compatibility with the teak, caulking and walking surface.
Practical Advice for Owners and Crew
For Owners
Ask a contractor what defect the sanding will correct and how much usable material remains. Agree the finish on a test area, including any stains that should be left alone.
Request an itemised quote covering preparation, sanding, seam repairs, cleanup and any treatment. A low sanding price tells you little if essential repairs sit outside the quote.
For Captains and Crew
Photograph work areas and record the abrasive grades, repairs and assessed thickness. Include the details in maintenance handovers so a new team does not repeat unnecessary work.
Give one person responsibility for approving the finish. Schedule sanding around guest operations and other yard work, with time for drying, any caulking cure and cleanup.
Return to gentle cleaning and regular seam inspections. Avoid aggressive scrubbing and repeated chemical restoration to maintain a freshly sanded colour.
Leaving teak to weather naturally is an option. If you choose a treatment, confirm suitability for walking decks and compatibility with the installed caulking.
Frequently Asked Questions About Sanding Teak Decks
Can You Sand Teak by Hand?
Yes. A flat block is useful for small, approved corrections and areas near fittings. Hand sanding still removes timber, so thickness checks and dust control remain necessary.
Can You Use an Orbital Sander on Teak?
A random orbital sander can be suitable on sound decking with sufficient sanding allowance. Match the abrasive and extraction to the job, and keep the pad flat. It is not permission to sand unknown or thin decking.
Should Teak Be Wet or Dry When Sanding?
For the sanding methods described here, clean the teak first and let it dry. Do not use ordinary electric sanders on wet decking.
Can You Sand Teak Veneer or Synthetic Teak?
Do not apply this method automatically. Thin teak veneers may have little or no sanding allowance. Synthetic decking needs its own manufacturer’s repair instructions.
How Often Should You Sand a Teak Deck?
There is no fixed interval. Reassess the need from surface condition, construction, previous work and remaining material. Routine washing and inspections should continue between corrective jobs.
Plan the Work Before Picking Up a Sander
Inspect, clean and establish the sanding allowance first. Then agree the smallest amount of work needed to correct the problem.
Join the newsletter for practical yacht maintenance advice, new guide releases, downloadable resources, product recommendations and seasonal reminders designed to help owners, captains and crew make better maintenance decisions onboard. As TYMH grows, subscribers will also get early access to new checklists, maintenance resources, recommended products and exclusive offers or discounts from selected marine brands.
Success
Thank you for signing up to receive updates from The Yacht Maintenance Hub.
Blog / Sanding Teak Decks: Grit, Method & Mistakes to Avoid
We track how people interact with our online web content and resources, and some of that tracking involves storing cookies on your device. By continuing to use our site you accept that you agree to this. For more details see our Privacy Statement.

 310
310