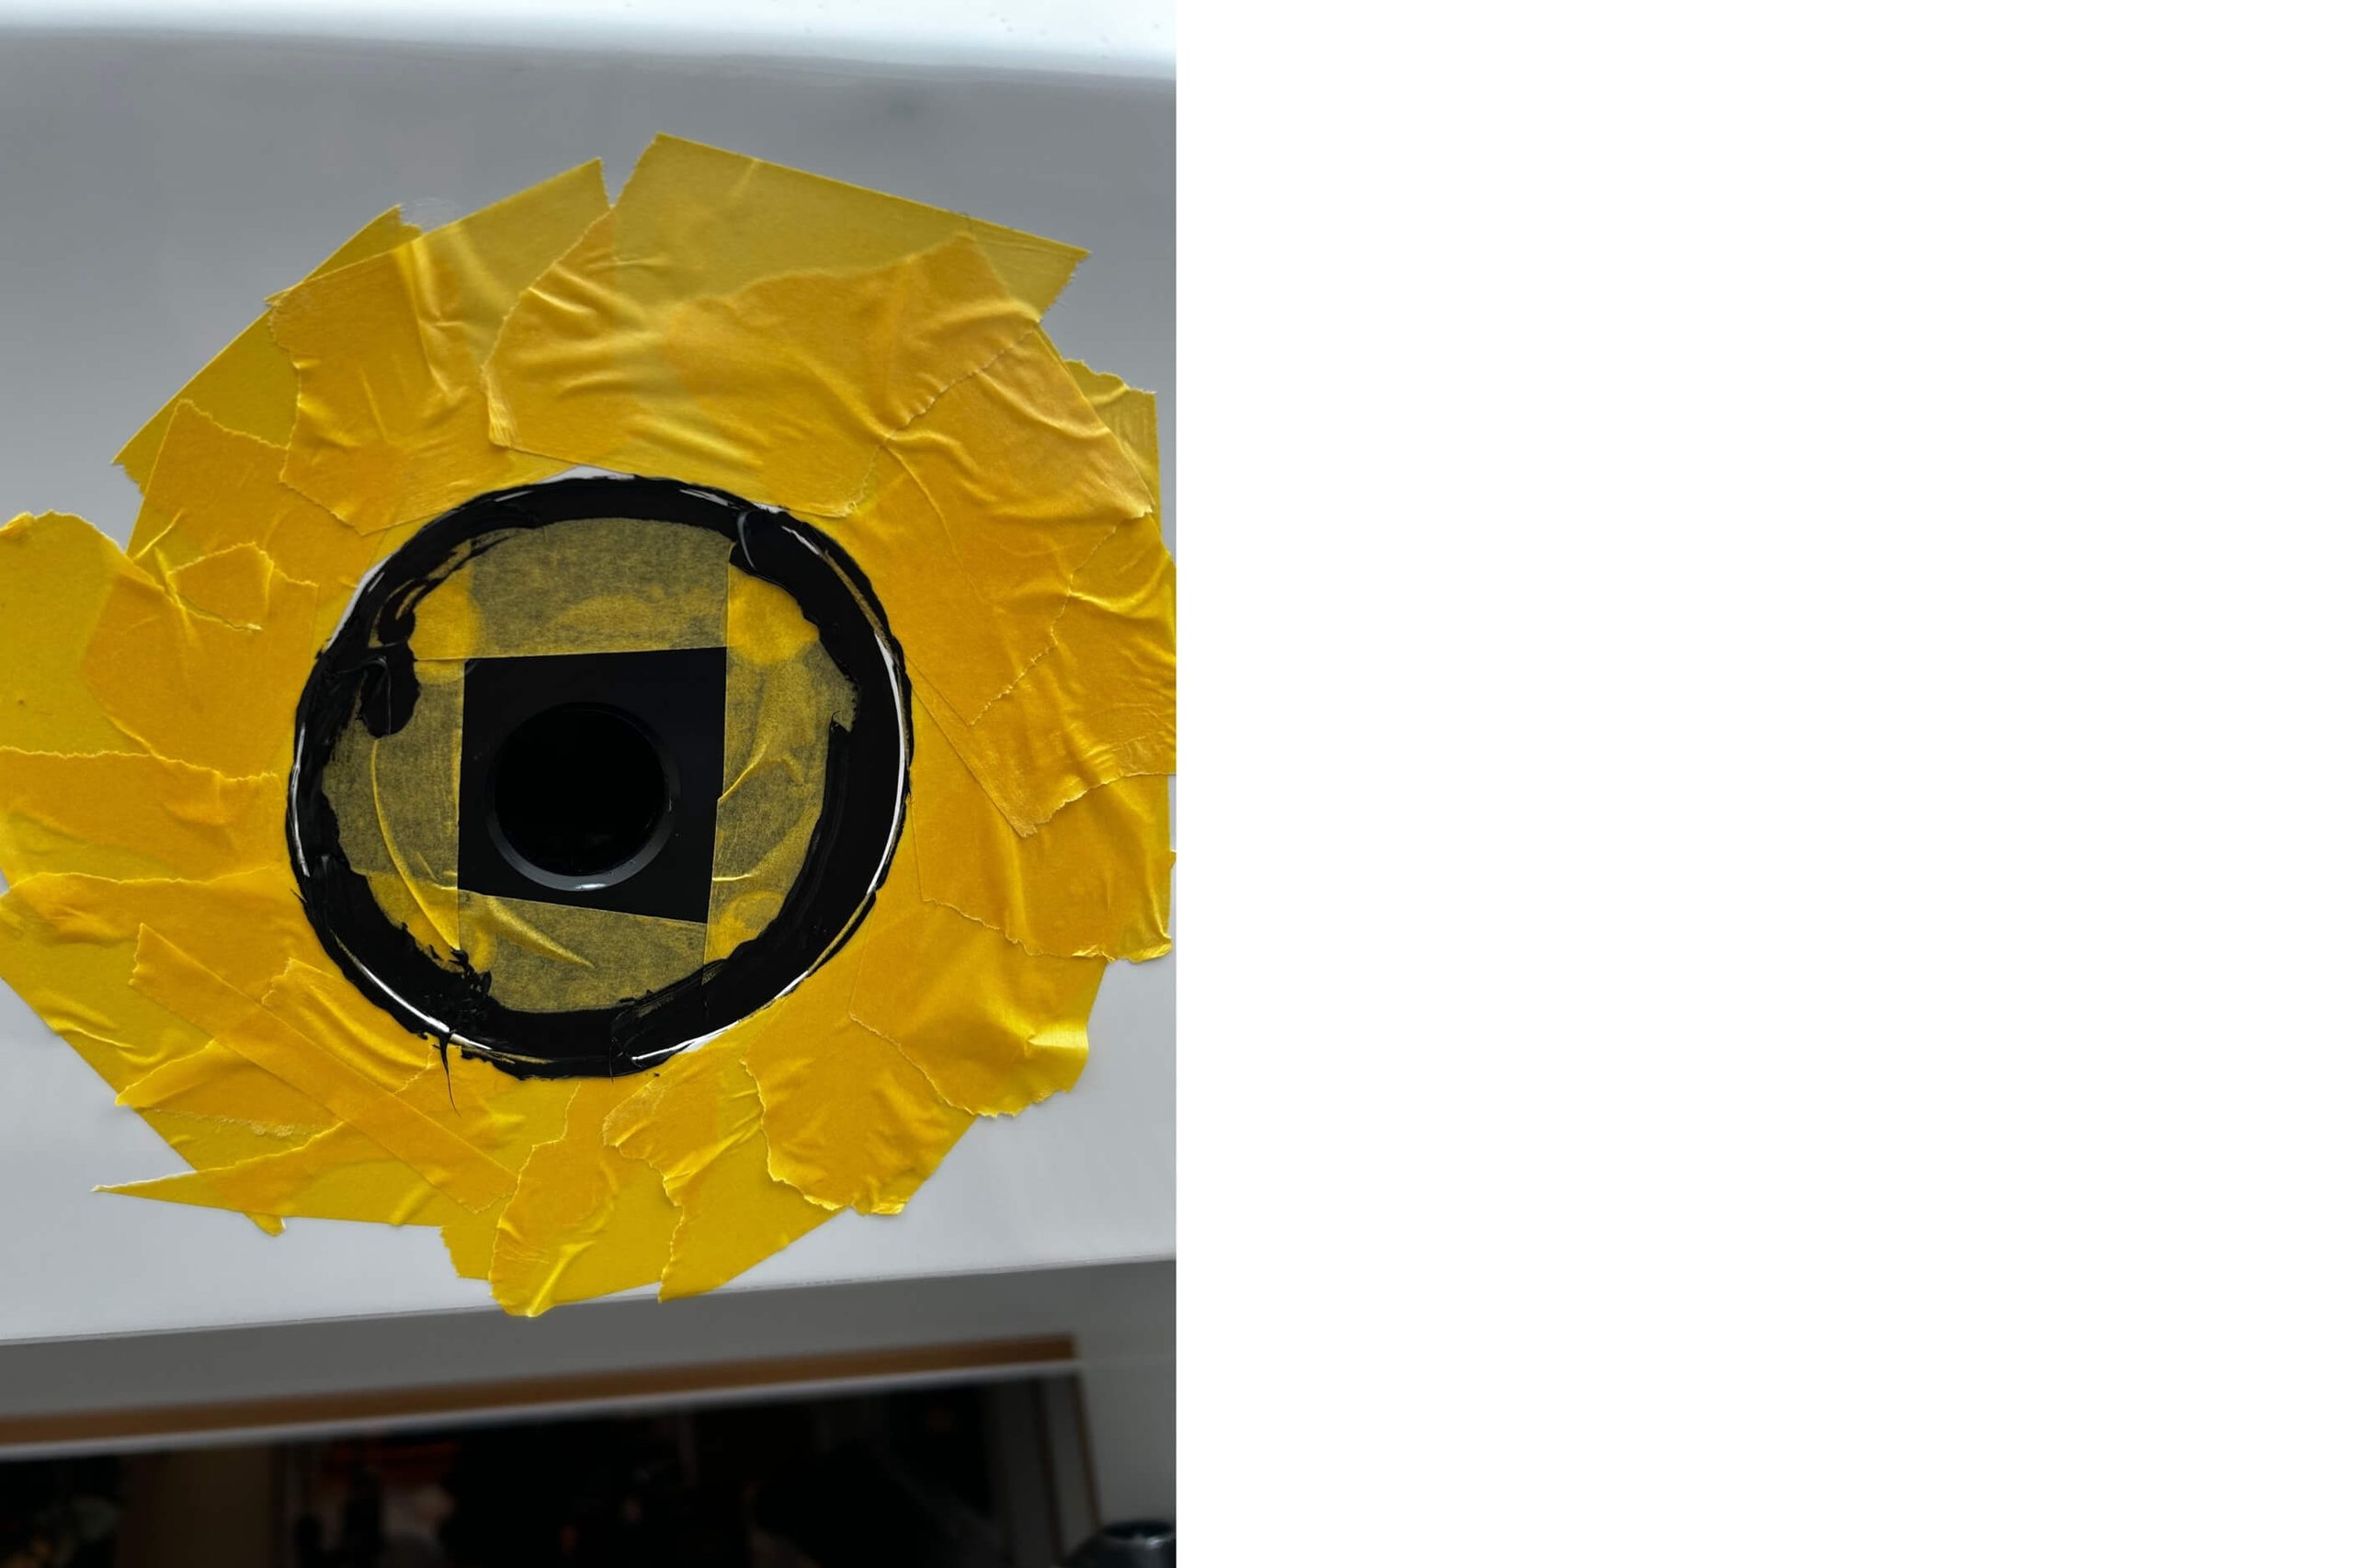
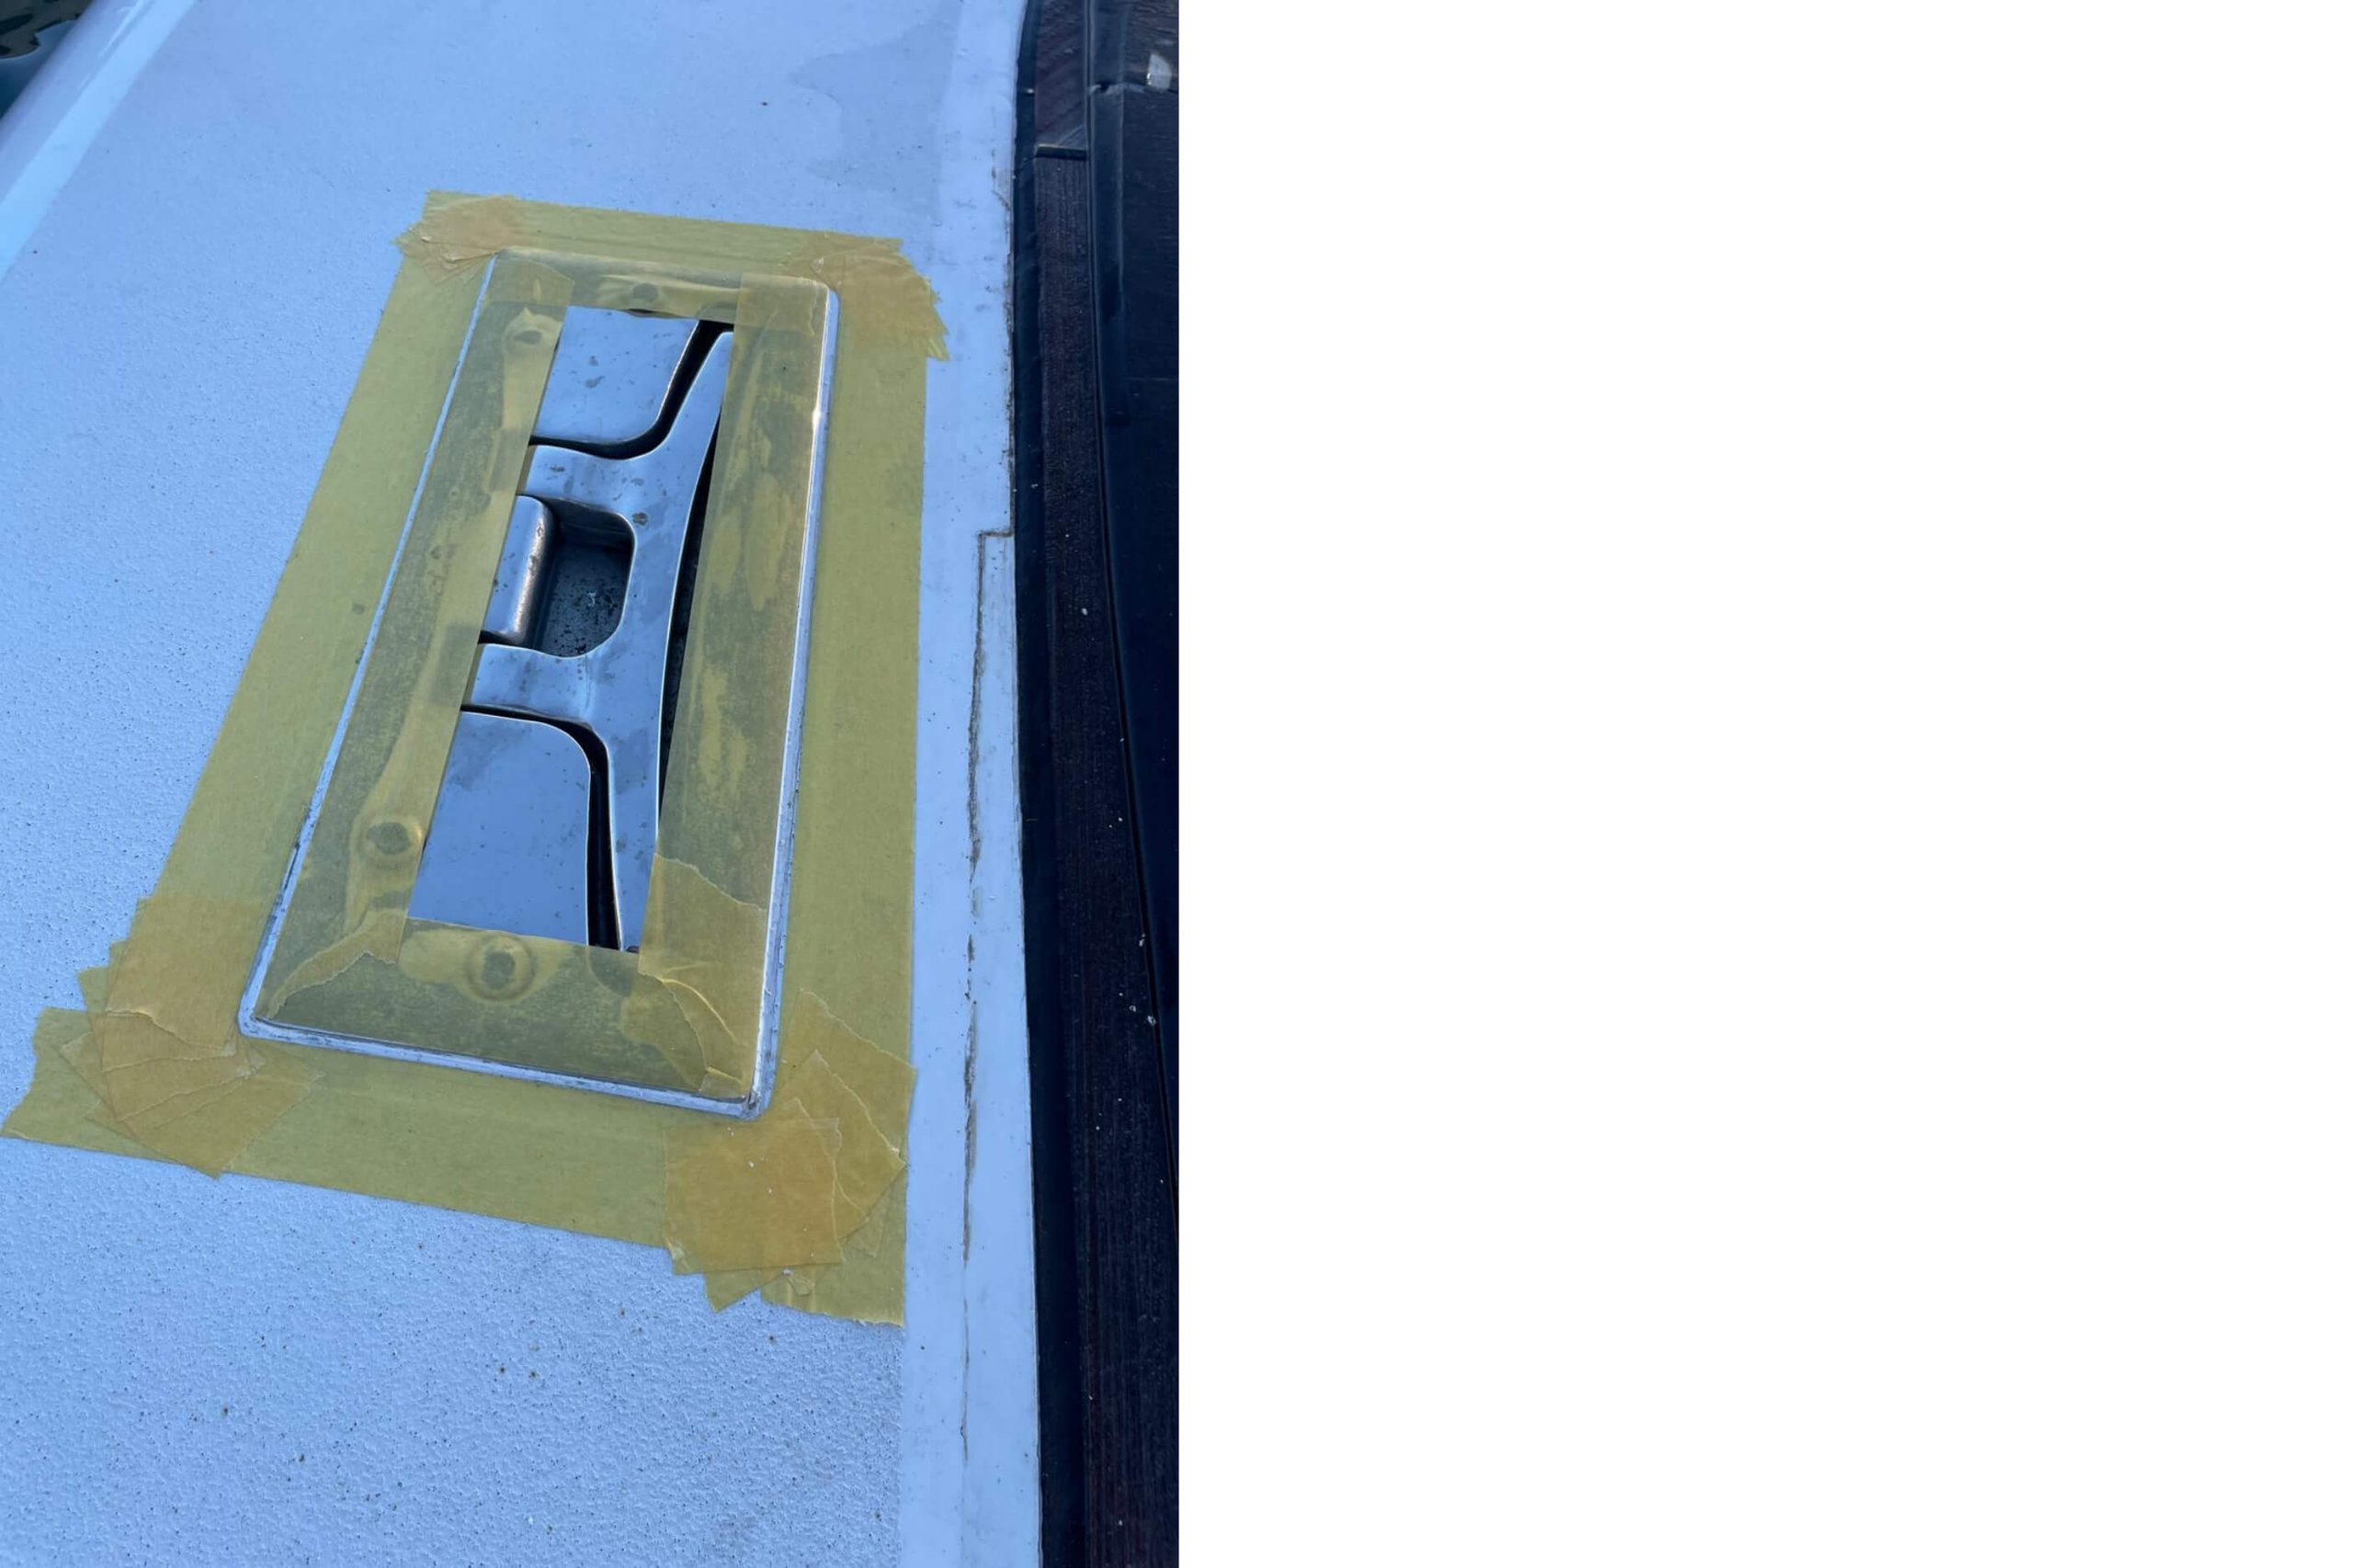
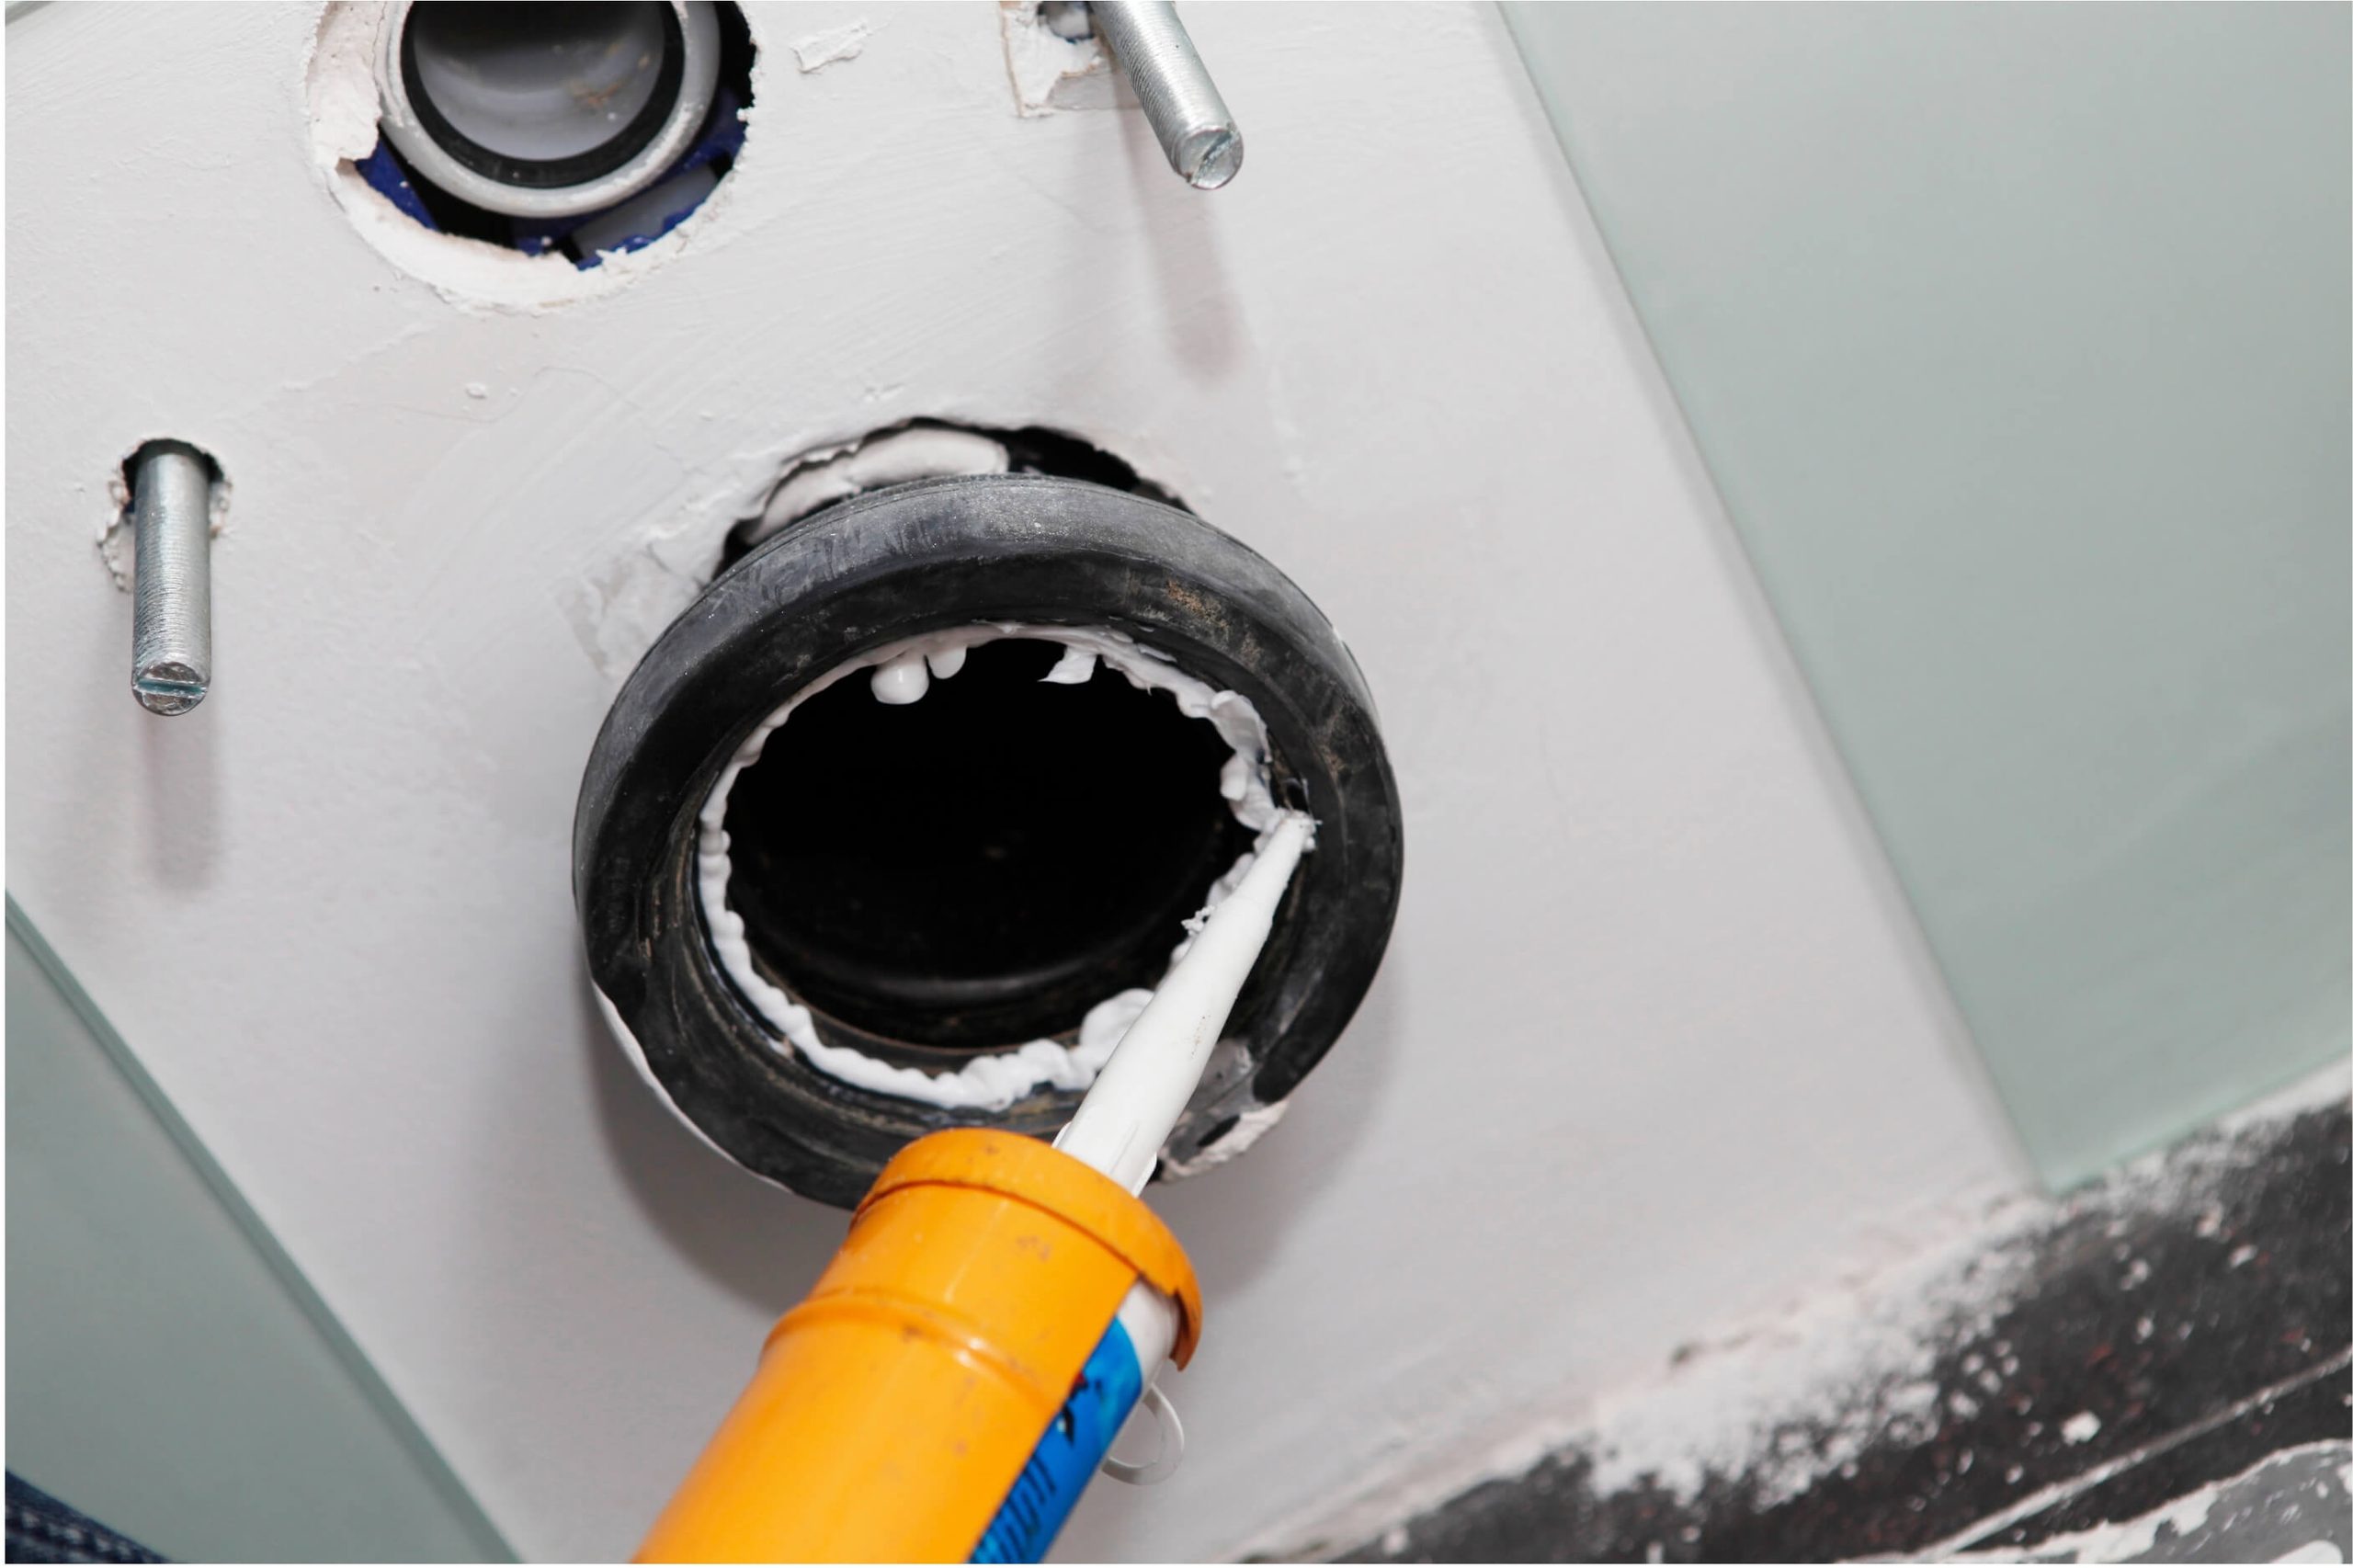
A leaking deck fitting can look like a small problem until water reaches the cabin lining or deck core. Choosing the right marine sealant helps prevent that damage. However, choosing an unnecessarily strong adhesive can make the next repair much harder.
Boat joints face movement, sunlight, salt and changing temperatures. A product that suits a metal fitting may damage a plastic window. Likewise, a sealant that handles rain may not suit permanent immersion.
This guide explains the main types of marine sealant, where to use them and how to prepare a lasting repair. It also covers curing time, inspections and the jobs that need professional help.
Some links on this page are affiliate links. This means The Yacht Maintenance Hub may earn a commission if you click through and make a purchase, at no extra cost to you. We only recommend products, tools and marine suppliers that we believe are useful for yacht owners, captains, crew and marine professionals.
Quick Answer: What Marine Sealant Do I Need To Use?
Choose marine sealant by the materials, water exposure and need for future removal. Use a compatible bedding compound for removable fittings, an approved glazing system for windows and a manufacturer-specified product for submerged fittings. Reserve permanent adhesive sealants for joints that need a lasting bond.
What Does Marine Sealant Actually Do?
Marine sealant closes gaps and helps keep water out while allowing some movement. A marine adhesive sealant also bonds the surfaces together, although bond strength varies considerably between products.
For example, bolts and backing plates secure many deck fittings. The bedding compound underneath seals the joint. It should not compensate for loose fixings, cracked laminate or inadequate support.
Before buying a tube, check:
Materials: Identify both surfaces, including any paint or plastic.
Location: Confirm whether the joint faces spray, sunlight or continuous immersion.
Removal: Decide whether future servicing will require disassembly.
Movement: Check the joint design and the sealant’s movement capability.
Instructions: Confirm any primer, preparation and curing requirements.
Types of Marine Sealant Compared
Type
Typical applications
Main consideration
Polyurethane marine sealant
General bedding and bonding; certain products suit submerged joints
Strength varies. Check removability and plastic compatibility.
Polysulfide marine sealant
Compatible wood, metal and fibreglass joints; selected deck and hull applications
Check the exact product’s substrate, primer and curing requirements.
Marine silicone sealant
Selected glazing and interior joints where the manufacturer specifies it
Many formulations resist paint. Immersion approval varies.
Polyether and hybrid sealants
Flexible exterior joints and exposed fittings; selected products suit immersion
Confirm UV resistance and underwater suitability for the specific formulation.
Marine butyl bedding tape
Suitable mechanically secured fittings that keep the tape under compression
It remains pliable and does not replace an adhesive bond.
These categories are starting points. For example, BoatLIFE Life-Calk is a polysulfide product with above- and below-waterline applications. Meanwhile, 3M 4000 UV provides a medium-strength, UV-resistant option for compatible joints.
When comparing a polyether marine sealant with a polyurethane, read the individual data sheets. The chemistry name alone cannot tell you whether a product suits your fitting.
Which Marine Sealant Should You Use for Each Job?
Deck fittings and exposed joints
The best sealant for boat deck fittings should suit the installation and allow sensible future maintenance.
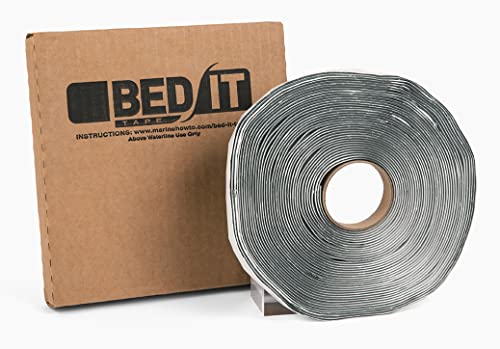
For suitable through-bolted hardware above the waterline, marine butyl bedding tape can provide a serviceable seal. However, the fitting must compress it correctly. Avoid using it where an adhesive must hold the part in place.
The practical difference in butyl tape vs marine sealant is that butyl remains pliable, while curing products form a rubber-like joint. Bed-IT’s guidance explains why mechanical compression matters. Its developer also advises against using the product around fuel fills and vents.
For visible exterior seams, consider a compatible UV-resistant product such as 3M 4000 UV. Above the waterline, sunlight resistance and material compatibility still matter.
A practical bedding option for through-bolted deck hardware above the waterline. The tape remains pliable to accommodate slight movement and simplifies future removal and cleanup, making it useful for fittings that may need rebedding.
Description:
Well suited to exposed deck fittings and visible exterior seams where sunlight resistance and colour stability matter. It forms a flexible, waterproof seal with medium-strength adhesion, allowing future disassembly when maintenance is required.
A practical bedding option for through-bolted deck hardware above the waterline. The tape remains pliable to accommodate slight movement and simplifies future removal and cleanup, making it useful for fittings that may need rebedding.
Well suited to exposed deck fittings and visible exterior seams where sunlight resistance and colour stability matter. It forms a flexible, waterproof seal with medium-strength adhesion, allowing future disassembly when maintenance is required.
We earn a commission if you make a purchase, at no additional cost to you.
Boat windows and hatches
The best sealant for boat windows depends on whether you are sealing a frame, replacing a gasket or bonding the glazing itself.
First, identify glass, acrylic or polycarbonate. Then check the window manufacturer’s installation method. Do not cover a failed opening-hatch gasket with sealant or block drainage channels.
Sikaflex 295 UV is a specialist option for plastic glazing. However, Sika specifies experienced professional users and compatibility testing. The complete system can require pretreatment, primers and protection of the bond from sunlight.
By contrast, Sika explicitly excludes stress-cracking plastics such as acrylic and polycarbonate from Sikaflex 291i’s applications. The two products are not interchangeable.
A specialist option for experienced users bonding and sealing acrylic or polycarbonate boat windows. Its resistance to sunlight and weathering suits exposed joints, with lasting results dependent on material compatibility and following Sika’s specified surface preparation, primer and glazing requirements.
The best marine sealant for use below the waterline must suit continuous immersion and the actual fitting material. A general “waterproof” claim is insufficient.
Follow the fitting manufacturer’s approved installation method. For example, TruDesign lists specific adhesive sealants for its skin fittings. That guidance does not automatically apply to another manufacturer’s bronze or plastic fitting.
Plan routine removal and rebedding below the waterline with the boat ashore. If you lack experience with skin fittings and seacocks, use a qualified marine technician. Follow the specified cure and launch instructions, then inspect for leaks immediately after relaunch.
Teak seams and fibreglass surfaces
Teak seams need a dedicated deck-caulk system. For example, Teakdecking Systems SIS 440 targets deck seams. Follow its preparation and joint-design instructions rather than substituting a general adhesive.
When choosing marine sealant for fibreglass boats, identify the actual bonding surface. Clean gelcoat, waxed gelcoat and painted laminate need different preparation. Sealant also cannot restore damaged laminate or repair a wet, weakened core.
3M 4200 vs 5200: Which Should You Choose?
The main difference is the intended permanence of the bond.
Product
Bond characteristic
When to consider it
3M 4200 FC
Medium strength; designed to allow disassembly
Compatible fittings that may need future removal
3M 5200
High strength; permanent bonding
Specified applications where a permanent bond is appropriate
3M 5200 Fast Cure
High strength; permanent bonding with faster curing
Similar bonding requirements where the faster formulation suits the job
3M’s comparison guide distinguishes removability from curing speed. “Fast Cure” does not make 5200 easier to remove.
For an ordinary fitting that needs periodic servicing, consider future access before choosing a permanent product. Stronger adhesion does not automatically create a better maintenance outcome.
A strong choice for permanent bonding and sealing on compatible hull and deck materials. The fast-curing formula stays flexible to accommodate movement and vibration. Reserve it for installations intended to stay assembled, as its strong adhesion can make later removal difficult.
Description:
A sensible option for sealing deck fittings and joints where future removal may be needed. Its medium-strength polyurethane bond stays flexible and forms a watertight seal on compatible materials above and below the waterline, making it useful for installations that may need servicing.
A strong choice for permanent bonding and sealing on compatible hull and deck materials. The fast-curing formula stays flexible to accommodate movement and vibration. Reserve it for installations intended to stay assembled, as its strong adhesion can make later removal difficult.
A sensible option for sealing deck fittings and joints where future removal may be needed. Its medium-strength polyurethane bond stays flexible and forms a watertight seal on compatible materials above and below the waterline, making it useful for installations that may need servicing.
We earn a commission if you make a purchase, at no additional cost to you.
How to Apply Marine Sealant
The following workflow suits straightforward, accessible fittings above the waterline. Glazing, structural joints and submerged fittings require their own installation procedures.
Gather the right tools
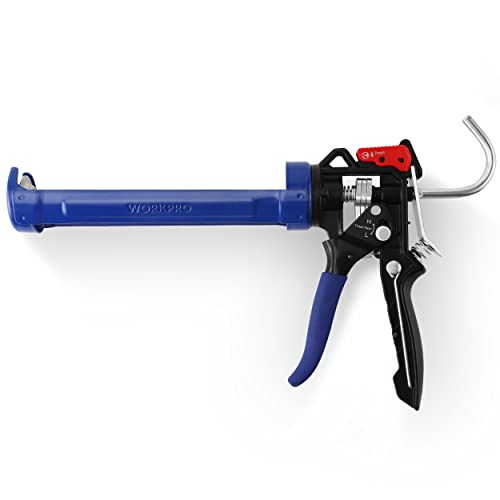
Prepare your sealant, a suitable cartridge gun, plastic scrapers, masking tape, lint-free cloths and an approved cleaner. Add any specified primer and the correct hand tools for the fasteners.
Follow the safety data sheet for gloves, eye protection and ventilation. A decent manual gun usually suits occasional maintenance; frequent yard work may justify a more durable applicator.
A practical addition for applying cartridge sealants, with adjustable thrust settings to suit different material consistencies. Drip control helps reduce mess between applications, while the cushioned grip and rotating barrel make longer runs and awkward angles easier to manage.
Description:
A handy tool for removing old Sealant and shaping neater beads around interior and exterior joints. The combined scraper and smoothing profiles help with both preparation and finishing; use the metal edge carefully around delicate surfaces.
Description:
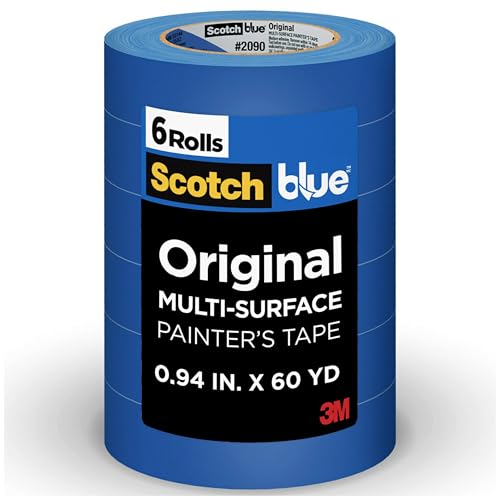
A practical narrow-width tape for masking around trim and smaller areas during onboard painting and interior jobs. The six-roll pack keeps supplies ready for regular maintenance; apply to clean, dry surfaces and check compatibility with the existing finish.
Description:
A useful disposable glove for greasy maintenance and general cleanup, with a textured grip and two-layer nitrile construction. The contrasting inner layer helps reveal damage; check chemical compatibility before handling cleaners, coatings or solvents.
A practical addition for applying cartridge sealants, with adjustable thrust settings to suit different material consistencies. Drip control helps reduce mess between applications, while the cushioned grip and rotating barrel make longer runs and awkward angles easier to manage.
A handy tool for removing old Sealant and shaping neater beads around interior and exterior joints. The combined scraper and smoothing profiles help with both preparation and finishing; use the metal edge carefully around delicate surfaces.
A practical narrow-width tape for masking around trim and smaller areas during onboard painting and interior jobs. The six-roll pack keeps supplies ready for regular maintenance; apply to clean, dry surfaces and check compatibility with the existing finish.
A useful disposable glove for greasy maintenance and general cleanup, with a textured grip and two-layer nitrile construction. The contrasting inner layer helps reveal damage; check chemical compatibility before handling cleaners, coatings or solvents.
We earn a commission if you make a purchase, at no additional cost to you.
Find the leak and remove failed bedding
Trace the water entry point before dismantling anything. Water can travel behind trim and appear far from the failed joint. Remove the fitting carefully, then lift away the old bedding. Avoid levering aggressively against gelcoat or painted surfaces. If the fitting resists removal, stop and identify the adhesive before applying more force.
Inspect the mounting surface
Check the fasteners, backing arrangement and surrounding laminate. Look for movement, cracking, corrosion or damp material around the holes. If you find a soft deck or wet core, arrange a proper assessment. Adding sealant over the opening will not restore the structure.
Clean and prepare
Remove residue, wax, grease and dust using a method compatible with the surface. Abrade only where the product instructions require it. Apply the specified primer and respect its waiting time. For routine deck cleaning around the work area, compare TYMH’s boat deck cleaners guide. Boat wash does not replace the sealant manufacturer’s final surface preparation.
Apply and assemble
Dry-fit the components first. Then apply a continuous bedding layer around the relevant contact areas and fastener penetrations, following the installation instructions. Maintain the required sealant thickness. Avoid squeezing the joint completely dry or overtightening plastic parts. Follow the product’s tightening sequence; butyl compression and curing adhesives can require different methods.
Finish, cure and check
Tool the joint within the stated working time and remove masking tape before the sealant skins. Use only approved finishing agents. Keep the fitting undisturbed for the specified period. Once the product permits water exposure, test an above-waterline repair gently while someone checks inside. Avoid using a pressure washer as a leak test.
Marine Sealant Curing Time: When Is It Ready?
Tack-free means the surface no longer feels sticky. It does not mean the entire joint has cured or can safely take service loads.
Check the current regional data sheet for your exact formulation. Follow its water-exposure and loading instructions rather than treating an advertised cure time as permission to launch.
Practical Advice for Owners and Crew
Make sealant checks part of your existing maintenance rounds. The schedule below is a practical starting point; increase checks for hard use or known leak areas.
When
What to inspect
During regular washdowns
Lifting edges, split seams, loose fittings and fresh staining
After heavy rain or rough passages
Damp lockers, water trails and movement around fittings
Before launch and seasonal lay-up
Accessible bedding, hatch seals and known trouble spots
After a repair
The joint after its first permitted water exposure and subsequent use
Record the product, primer, location and repair date. Photographs help the next person identify the sealant and judge whether a crack is growing.
If a leak returns, investigate the cause before applying more material. A moving base may need better support. Dampness around a hatch may come from its gasket or drainage system.
Choosing by strength alone: Match the bond to the job and future servicing needs.
Ignoring plastic compatibility: Check the exact material before applying sealant, cleaner or primer.
Covering a leak with an outside bead: Failed bedding often needs removal and proper preparation.
Treating every curing time alike: Confirm the formulation, joint dimensions and site conditions.
Using sealant to stabilise loose hardware: Repair the fastening or support problem first.
Blocking drains: Preserve the fitting’s intended drainage paths.
Using expired or partly cured material: Check shelf life, storage requirements and cartridge condition.
Frequently Asked Questions About Marine Sealant
What is the best marine sealant for boats?
There is no single best product for every joint. Choose according to the materials, exposure, movement and need for removal. A serviceable bedding compound may suit deck hardware, while bonded glazing or a submerged fitting needs a specific approved system.
Can I use ordinary silicone sealant on a boat?
Do not assume household silicone suits marine fittings. Use the product specified for the materials and location. Marine silicone sealant can suit selected glazing or interior tasks, but check immersion approval and paint compatibility. It is not a universal substitute for other bedding products.
How do I choose marine sealant for hatches?
Identify whether the leak comes from the frame-to-deck joint, the glazing or the opening gasket. Each needs a different repair. Follow the hatch manufacturer’s bedding instructions, preserve drainage channels and avoid permanent adhesive where routine removal will be necessary.
How do I remove old marine sealant?
Remove the bulk carefully with suitable scrapers or cutting tools, then use an approved residue-removal method. Test any chemical on the surface first. Cured products may require mechanical removal; forcing a bonded fitting apart can damage the surrounding finish or laminate.
How often should I replace marine sealant?
Follow any manufacturer service interval and inspect the joint’s condition. There is no universal replacement schedule. Investigate cracking, loss of adhesion, movement or water entry promptly. Sound bedding does not need replacement simply because another product has a different expected lifespan.
Summary
The right marine sealant matches the material, exposure and purpose of the joint. Start by identifying the leak and checking the installation instructions. Then prepare the surfaces properly, allow the required cure time and record the repair for future inspections.
Join the newsletter for practical yacht maintenance advice, new guide releases, downloadable resources, product recommendations and seasonal reminders designed to help owners, captains and crew make better maintenance decisions onboard. As TYMH grows, subscribers will also get early access to new checklists, maintenance resources, recommended products and exclusive offers or discounts from selected marine brands.
Success
Thank you for signing up to receive updates from The Yacht Maintenance Hub.
Blog / Marine Sealant for Boats: What to Use and When
We track how people interact with our online web content and resources, and some of that tracking involves storing cookies on your device. By continuing to use our site you accept that you agree to this. For more details see our Privacy Statement.
 310
310
310
310