The Yacht Maintenance Hub, The resource for Yacht Maintenance & Repairs310310
13 October 2026 | Read it in 11 minutes
Written by Archie Wilson
Archie Wilson is a commercially endorsed Yachtmaster Offshore, experienced Bosun, yacht crew member and founder of The Yacht Maintenance Hub. His background spans superyachts, private motor yachts, chase boats and sailing yachts, with hands-on experience in maintenance, refit work, boat building, deck operations and basic engineering. Having also lived aboard sailing yachts and helped smaller boat owners manage their own maintenance, Archie created TYMH to share practical guidance grounded in real onboard experience.
Grey teak decking can look tired without needing major restoration. However, reaching straight for a pressure washer, strong cleaner or sanding machine can turn a cosmetic problem into permanent damage.
Successful teak deck restoration starts with identifying what needs attention. Surface dirt, stubborn stains, worn timber and failing seams each require a different approach. Removing more wood will not solve a leaking seam.
This guide explains how to restore teak decking on boats and yachts, choose suitable products, recognise repair work and avoid unnecessary wear. It also covers sanding, finishes, costs and a practical maintenance routine.
Some links on this page are affiliate links. This means The Yacht Maintenance Hub may earn a commission if you click through and make a purchase, at no extra cost to you. We only recommend products, tools and marine suppliers that we believe are useful for yacht owners, captains, crew and marine professionals.
Quick Answer: How Do You Restore Teak Decking?
To restore teak decking, inspect the wood and seams, remove loose dirt, then clean gently with a compatible teak cleaner and rinse thoroughly. Repair damaged seams or loose timber before cosmetic finishing, and sand only when the deck has enough remaining material. Sound teak can remain naturally grey; oiling or sealing is optional and depends on the deck system.
Does Your Teak Deck Need Cleaning or Repair?
First, confirm that you have real timber. Synthetic teak requires its own cleaning and repair methods, so use our synthetic teak deck guide if you are unsure.
Natural teak changes colour outdoors. A silver-grey surface alone does not mean the deck has failed. Inspect the deck before choosing a treatment:
What you notice
Possible explanation
Sensible next step
Even grey colour; firm, secure planks
Normal weathering
Gentle cleaning if dirty
Grease, food marks or local discolouration
Surface contamination
Identify the stain and test a compatible treatment
Rough ridges or splinters
Uneven wear or previous damage
Assess remaining timber before sanding
Gaps beside caulking or missing plugs
Potential routes for water entry
Arrange a targeted repair
Moving planks, soft areas or leaks below
Possible bonding or underlying deck damage
Ask a marine deck specialist to investigate
Caulking is the flexible material between the planks. Teakdecking Systems’ inspection guidance identifies separation from plank edges and water ingress as important warning signs.
Take photographs before starting. They help you explain defects to a contractor and compare the same areas after cleaning.
What Tools and Teak Deck Restoration Products Do You Need?
For a basic clean, prepare:
Fresh water and a hose with gentle flow.
A clean bucket, sponge and deck-approved soft pad or brush.
A teak cleaner compatible with the wood, seams and nearby finishes.
Chemical-resistant gloves and eye protection specified by the product label.
Suitable protection for surrounding surfaces.
Choose products by their intended job. Buying a full restoration kit makes little sense if the deck only needs a routine wash.
Preparation, primer requirements and cure times differ
TDS provides separate instructions for ECO-100 and ECO-300. Do not assume every cleaner needs dilution or the same contact time.
For buying guidance, compare our teak cleaners for boats. A basic compatible cleaner may be sufficient; specialist repair tools become worthwhile when the work actually requires them.
How to Restore Teak Decking: Step-by-Step
1. Check the Deck and Its Maintenance History
Find the deck builder’s care instructions and identify the existing caulking and any previous finish. Ask when someone last sanded or repaired the deck.
Pay particular attention to thin timber around plugs, exposed fasteners and previous patch repairs. If you cannot establish the remaining thickness, get a specialist assessment before machine sanding. Do not drill exploratory holes to measure it.
Stop the cleaning project if you find loose planks or open seams that could admit wash water. Resolve those defects first.
2. Prepare a Small Working Area
Work on a cool deck, preferably in shade. Remove cushions, loose equipment and mats, then protect nearby paint, metal and other sensitive surfaces as the cleaner manufacturer directs.
Plan where rinse water will travel, including down the topsides. Follow the marina’s arrangements for collecting contaminated wash water and keep people away from the working area.
Test your chosen cleaner in a discreet patch. Let that patch dry before judging the colour and checking the seams.
3. Remove Grit and Surface Dirt
Rinse away loose grit before wiping or scrubbing. Otherwise, trapped particles can scratch surrounding finishes and increase abrasion.
Use gentle hose flow. Avoid directing water into suspect seams, open plugs or deck fittings. Keep a separate clean sponge for the teak instead of reusing one from greasy machinery spaces.
4. Clean Gently in Manageable Sections
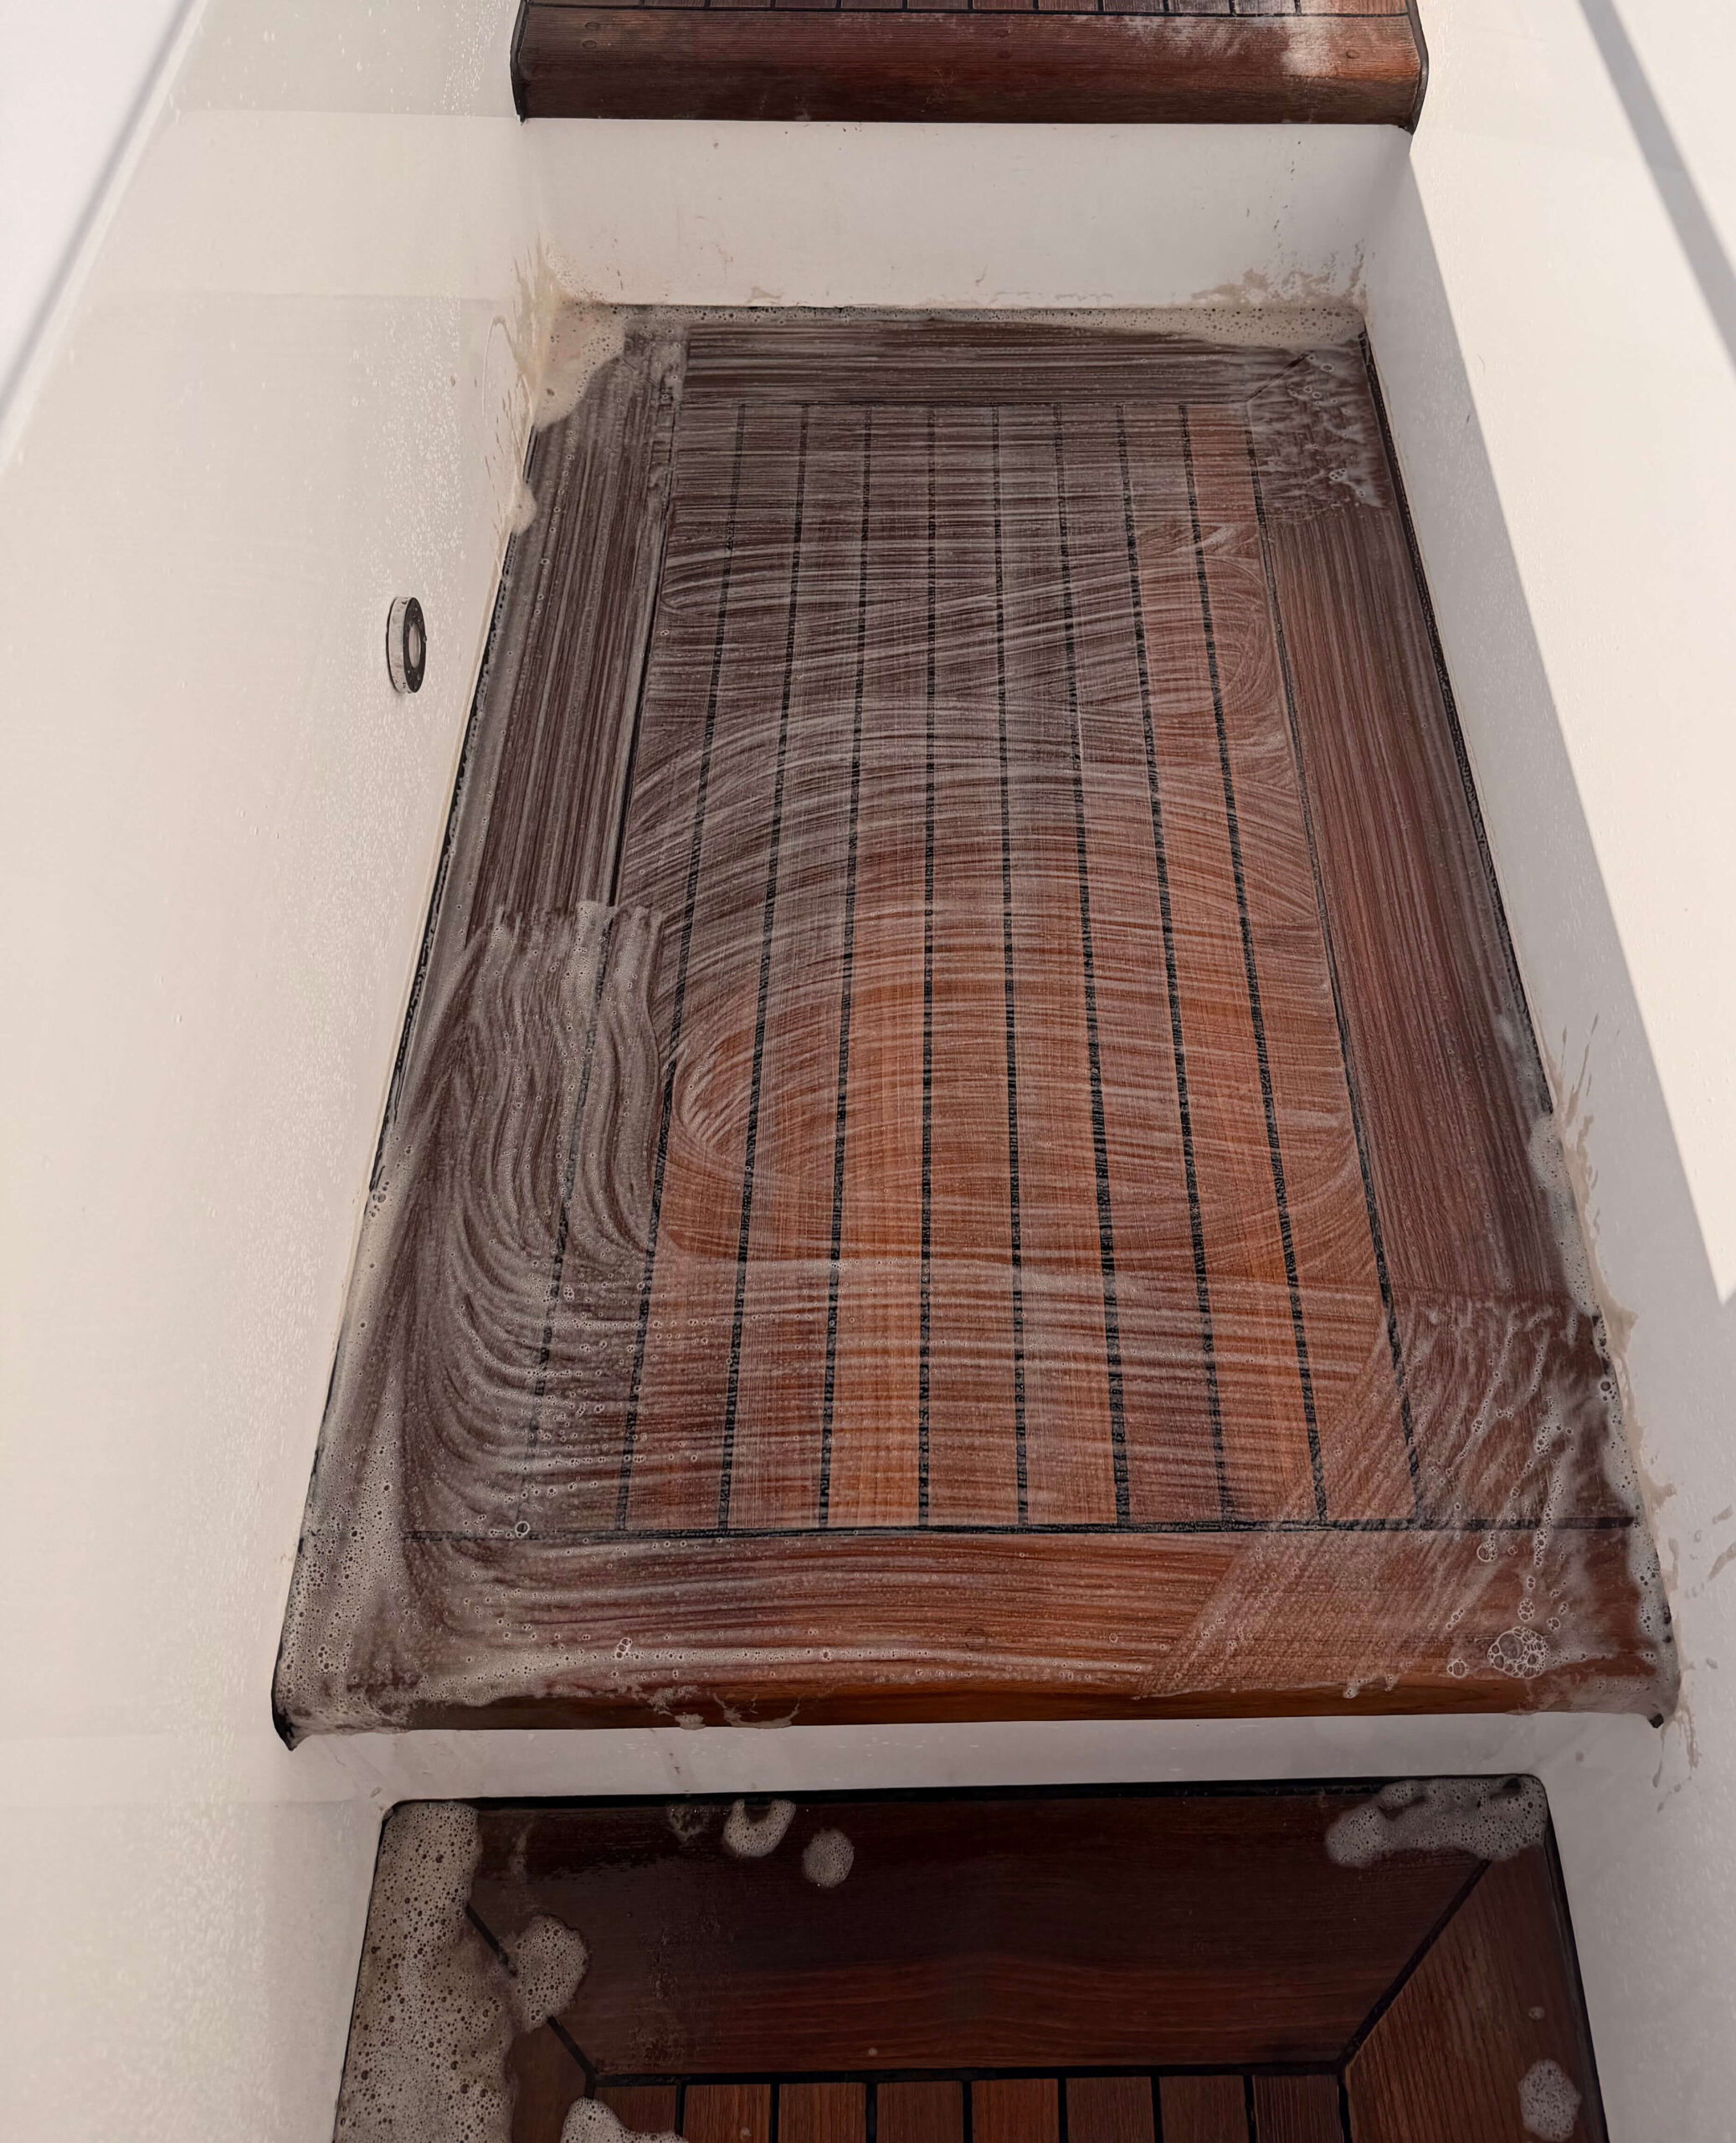
Apply the cleaner exactly as labelled. Work in sections small enough to rinse within the specified contact time, and do not let the product dry on the deck.
Use light pressure. TDS’s published teak cleaning sheet specifies a soft pad or soft-bristle brush working across the grain. Follow your deck supplier’s instructions where they differ.
Avoid repeatedly scrubbing along existing grooves. If dirt remains, reassess the product and contamination before increasing pressure.
After the general clean, identify any remaining mark. Spray fresh oily spills promptly; persistent grease, rust staining and biological growth may need different treatments. For oil spills we recommend K2R to help lift the oil or grease from the grain of the teak.
Use only a stain remover approved for the deck and caulk. A product intended for fibreglass may damage adjacent timber or sealant.
Two-part cleaners deserve particular care. SEMCO’s care guide warns that repeated harsh cleaning can roughen the wood and that its cleaner may affect painted surfaces. Avoid repeating a full chemical treatment simply to chase one stubborn mark.
6. Rinse, Dry and Reassess
Rinse thoroughly, including edges and adjacent surfaces exposed to cleaner. Then allow the deck to dry naturally.
Inspect areas that stay damp after neighbouring planks have dried. Shade can explain slower drying, but a persistent wet line beside a seam warrants investigation.
Judge the dry deck before planning further work. If it is clean, comfortable underfoot and secure, additional abrasion may offer little benefit.
When Is Sanding Teak Decks Necessary?
Sanding can correct certain raised fibres, uneven surfaces or repairs. However, every pass removes timber, so establish the deck’s remaining wear allowance first.
A specialist should check the timber thickness, seam depth, plugs, fasteners and construction. Thin decorative layers and previously sanded areas leave less room for correction.
If sanding is appropriate, agree the minimum material removal and finish with the deck specialist. Keep the sanding pad flat, use effective dust extraction and suitable protective equipment, and protect adjacent surfaces. Avoid concentrating on one dark patch until it becomes a hollow.
Do not smear fresh sealant over a split seam and assume you have repaired it. A durable repair requires sound bonding surfaces and the correct seam dimensions.
The work generally involves removing failed material, preparing clean and dry seam walls, applying any specified primer or bond-breaker tape, and filling without trapped air. Follow the chosen system’s instructions throughout.
Allow the required cure before sanding or returning the area to service. A dry surface does not prove that the full depth has cured. This is normally around 7-14 days.
An experienced owner may tackle a small isolated repair within the product’s instructions. Widespread seam failure, moving planks or leaks below call for a marine deck specialist. Our marine sealant guide explains why sealant choice matters.
Teak Sealer vs Teak Oil: Does the Deck Need a Finish?
Oiling or sealing is not an automatic final step. First decide whether you want a natural grey deck or a maintained golden colour, then confirm what the deck builder permits.
Approach
Main advantage
Main consideration
Leave teak bare
Allows natural weathering without a coating programme
Stains and biological growth still need attention
Use an approved teak sealer
Can help retain the chosen colour and resist staining
Requires compatible preparation and future recoating
Use an approved teak oil system
Enhances colour where the deck system permits it
Product choice and excess removal matter
Do not apply oil over an unidentified coating or assume furniture varnish suits a walking surface. Check wet grip, seam compatibility, drying requirements and future maintenance before committing.
How Much Does Teak Deck Restoration Cost?
Teak deck restoration cost depends on the work required. A DIY clean mainly involves supplies and your time. Recaulking adds seam preparation and labour, while replacement involves removal, fitting and potentially underlying deck repairs.
Ask contractors to separate:
Cleaning and stain treatment.
Sanding, including the proposed material removal.
Seam repairs and replacement timber.
Access, travel, yard charges, tax and waste disposal.
Additional work if they discover damage underneath.
Illustrative budget: $120 of materials plus 10 labour hours at $65 per hour totals $770, before tax and access charges. These are hypothetical inputs to show the calculation, not a quoted 2026 market rate.
Practical Advice for Owners and Crew
Create a simple deck record with photographs, product names, dilution instructions, repairs and previous sanding dates. Include it in crew handovers so a new team does not repeat an aggressive treatment unnecessarily.
Use the following as a suggested inspection routine, adjusted for the builder’s instructions, climate and vessel use:
When
What to do
After spills or dirty work
Remove contamination promptly and inspect the area
During routine washdowns
Remove loose dirt gently; use cleaner when needed
Monthly during use
Check seams, plugs, edges and drainage
Before the season or a long trip
Record defects and organise necessary repairs
Before refinishing or sanding
Reassess condition and confirm the planned method
Give one person responsibility for approving changes to the cleaning method. Also label brushes and keep a small product instruction folder onboard.
For example, a clean foredeck and a greasy cockpit do not necessarily need the same treatment. Target the affected area instead of exposing the whole deck to stronger chemicals.
Pressure washing real teak. Concentrated water can gouge the softer grain. Hallberg-Rassy specifically warns against it, including claims that a suitable setting makes it safe.
Treating every grey deck as damaged. Inspect structure and seams before pursuing a colour change.
Using more chemical than instructed. Extra concentration or contact time can harm wood and nearby materials.
Choosing a cleaner without checking the caulk. Sika states that Sikaflex-290 DC PRO is not resistant to acids, caustic solutions or chlorine-containing cleaners.
Sanding without knowing the remaining thickness. Check the construction and wear allowance first.
Coating over dirt, moisture or an unknown finish. Follow the selected coating’s preparation requirements.
Rushing repairs before a guest trip. Plan the work around the required cure and drying periods.
Frequently Asked Questions About Restoring Teak Decking
Can You Restore Teak Decking Without Sanding?
Yes, when the problem is dirt or surface discolouration and the deck remains sound. Start with a compatible cleaner and inspect the dry result. Cleaning cannot replace missing timber, repair loose planks or rebuild failed seams.
Is It Safe to Pressure Wash Teak Decking?
Avoid pressure washing real teak decking. It can remove softer grain and leave grooves or splinters. Use gentle hose flow with a suitable cleaner and soft cleaning tool instead.
How Do You Remove Stains From Teak Decking?
Identify the stain, remove loose contamination and test with K2R. If the stain persists move to a stronger cleaner.
How Often Should You Restore Teak Decking?
There is no fixed annual restoration requirement. Clean according to contamination, inspect regularly and repair defects when they appear. Schedule sanding and refinishing according to condition and the deck system, rather than the calendar alone.
When Should a Teak Deck Be Repaired or Replaced?
Local seam or plank defects may allow targeted repairs when surrounding timber and the supporting deck remain sound. Widespread movement, significant underlying damage or insufficient remaining timber may justify replacement. Get a marine deck assessment before deciding.
Summary
Restoring teak decking starts with a careful inspection and the least aggressive effective clean. Protect the remaining timber, address failed seams and choose any finish around the actual deck system.
Your next step is to photograph the deck and identify whether it needs cleaning, local repairs or a specialist assessment. A clear diagnosis helps you spend money on work that preserves the deck.
Join the newsletter for practical yacht maintenance advice, new guide releases, downloadable resources, product recommendations and seasonal reminders designed to help owners, captains and crew make better maintenance decisions onboard. As TYMH grows, subscribers will also get early access to new checklists, maintenance resources, recommended products and exclusive offers or discounts from selected marine brands.
Success
Thank you for signing up to receive updates from The Yacht Maintenance Hub.
Blog / How to Restore Teak Decking in 2026 (Avoid Costly Mistakes & Damage)
We track how people interact with our online web content and resources, and some of that tracking involves storing cookies on your device. By continuing to use our site you accept that you agree to this. For more details see our Privacy Statement.
 310
310
310
310